Create Your Own Indoor DIY Mini Herb Garden Part 1 🌱
Let's make an 𝘐𝘯𝘥𝘰𝘰𝘳 𝘋𝘐𝘠 𝘔𝘪𝘯𝘪 𝘏𝘦𝘳𝘣 𝘎𝘢𝘳𝘥𝘦𝘯!
Hi! My name is Holly, and I am "Growing With Holly". I am a (mostly) self taught gardener and seed starter from Winnipeg! Tending to my own garden and producing my own vegetables quickly became my happy place among the chaos of being a stay at home mom to my 2 boys. I decided to start sharing that passion with tips, tricks, and recipes to others in 2021.
First 5 things you'll need to get started are:
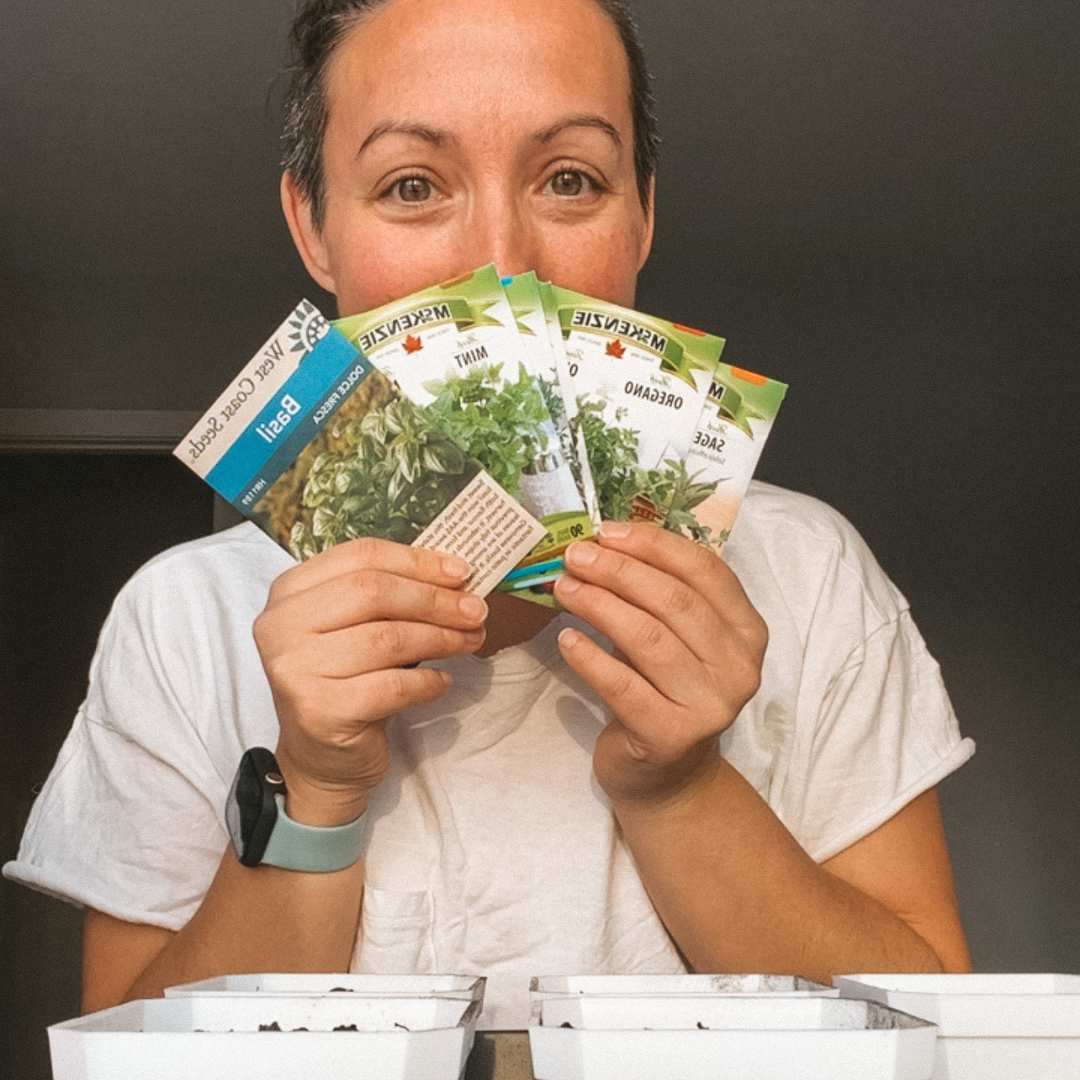
- A tray & lid, a handful of pots, potting mix, plant labels, and your choice of herb seeds
1. Fill each of your pots with soil, leaving about 1/2 inch of space from the top, and place them in your tray (Canadian Tire has trays for $3.99, and I got my pots from Amazon)

2. Water the soil before adding your seeds. I find the soil sinks in and will suck your seed further than you want.

3. Sprinkle approx 5 seeds in each pot (it's likely they won't ALL germinate) and lightly cover with soil. Pop in a label.


4. If you have a spray bottle, give those seeds a little spritz with some water. If you don't, very carefully water without jarring the soil too much. (If I recall, I think I remember using a turkey baster a few years ago! haha)

5. Place your lid over top and put in a nice sunny window (south facing is ideal and grow lights are a bonus).

6. Wait for germination! Your seed choices will determine this, but details can be found on the back of your packages. Monitor moisture, and once majority have sprouted up, remove from the covered tray, but continue to keep in a sunny area.
In a few weeks, you'll have herbs that are ready to use in your cooking, and have a head start on the summer growing season!
CONTACT DETAILS:
Instagram: @growingwithholly
|
Posted on March 15 2023
0 comments